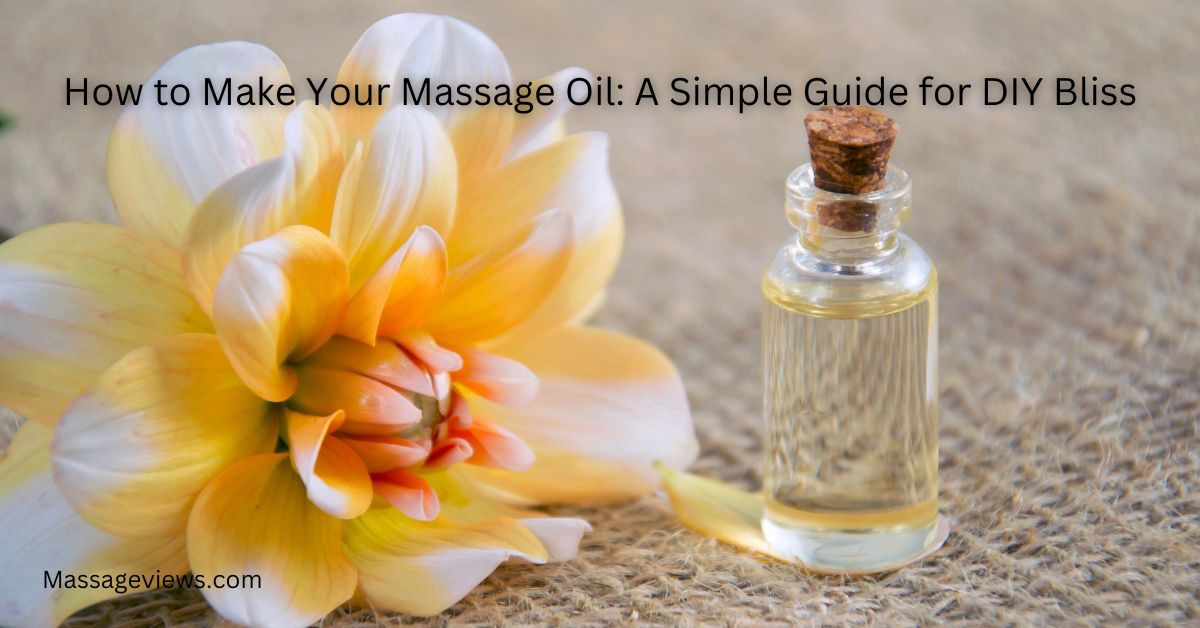
Welcome to our simple guide on making your massage oil at home! Whether you’re looking to unwind after a long day or add a personal touch to your self-care routine, creating your massage oil can be a rewarding and enjoyable experience.
Making your massage oil allows you to customize the scent and properties to suit your preferences and needs. Plus, it’s often more affordable and healthier than store-bought options, as you know exactly what goes into it.
We’ll take you through the simple process of making your own massage oil in this article, from choosing the best components to preserving it for later use. Now let’s get started and find out how you may have some DIY bliss!
Table of Contents
Step 1: Gathering Your Materials
Before you start creating your homemade massage oil, you’ll need to gather a few key ingredients. Here’s what you’ll need:
1. Carrier Oil
Choose a carrier oil as the base for your massage oil. Some popular options include sweet almond oil, coconut oil, jojoba oil, or olive oil. These oils provide a smooth glide and moisturize the skin.
2. Essential Oils
If you’d like to add fragrance or therapeutic benefits to your massage oil, consider using essential oils. Lavender, peppermint, and eucalyptus are popular choices, but feel free to pick scents that appeal to you.
3. Measuring Tools
You’ll need measuring spoons or a dropper to accurately measure your carrier and essential oils. This ensures you get the right balance of ingredients for your massage oil blend.
4. Container
Choose a clean, dry bottle or container to store your massage oil. Dark glass bottles are ideal as they help preserve the oil’s freshness by protecting it from light.
Step 2: Selecting Carrier Oils
Choosing the right carrier oil is essential for creating a massage oil that suits your skin type and preferences. Here are some popular options to consider:
Sweet Almond Oil: Light and easily absorbed, sweet almond oil is suitable for most skin types. It’s rich in vitamin E and has moisturizing properties, leaving your skin feeling soft and nourished.
- Coconut Oil: Coconut oil is solid at room temperature but melts easily on contact with the skin. It’s deeply moisturizing and has a light, tropical scent. However, it may not be suitable for those with acne-prone or oily skin.
- Jojoba Oil: Jojoba oil closely resembles the natural oils produced by our skin, making it an excellent choice for all skin types, including sensitive and acne-prone skin. It’s lightweight, non-greasy, and absorbs quickly.
- Olive Oil: Olive oil is readily available in most kitchens and is a budget-friendly option for massage oil. It’s rich in antioxidants and vitamins, but it has a heavier texture and may leave a slightly greasy feeling on the skin.
- Grapeseed Oil: Grapeseed oil is lightweight, odorless, and easily absorbed by the skin. It’s suitable for all skin types, including sensitive skin, and has a high concentration of antioxidants, which can help promote healthy skin.
- Apricot Kernel Oil: Apricot kernel oil is gentle and lightweight, making it ideal for sensitive skin. It’s rich in vitamin E and fatty acids, providing hydration and promoting skin elasticity.
Step 3: Essential Oils
While optional, adding essential oils to your massage oil can enhance the experience with their delightful scents and potential therapeutic benefits. Here are some popular essential oils to consider:
- Lavender: Known for its calming and relaxing properties, lavender essential oil can help alleviate stress and promote a sense of tranquility.
- Peppermint: Peppermint essential oil has a refreshing and invigorating aroma, perfect for revitalizing tired muscles and boosting energy levels.
- Eucalyptus: With its refreshing and cleansing scent, eucalyptus essential oil can help clear the mind and promote respiratory health, making it ideal for massage blends targeting cold and flu symptoms.
- Ylang-Ylang: Ylang-ylang essential oil has a sweet and floral aroma that can uplift the mood and enhance feelings of sensuality and relaxation.
- Chamomile: Chamomile essential oil is soothing, making it suitable for promoting relaxation and easing muscle tension.
- Rosemary: Rosemary essential oil has a stimulating and invigorating scent, perfect for boosting mental clarity and concentration during a massage.
- Geranium: Geranium essential oil is balancing and uplifting, making it ideal for promoting emotional well-being and harmony.
- Bergamot: Bergamot essential oil has a citrusy and uplifting aroma that can help relieve stress and anxiety while promoting a positive mood.
- Sandalwood: Sandalwood essential oil has a grounding and woody scent that can promote relaxation and deepen meditation practices.
Step 4: Preparing Your Blend
Calculating the Dilution Ratio
Before mixing your essential oils with the carrier oil, it’s crucial to calculate the appropriate dilution ratio to ensure safe usage. A common dilution ratio for adults is around 2-3% for most essential oils.
Here’s how to calculate it:
- Determine the total amount of carrier oil you’ll be using (e.g., 30ml, 60ml, etc.).
- Multiply the total amount of carrier oil by the desired dilution percentage (e.g., 2% or 0.02 for a 2% dilution).
- This will give you the maximum number of drops of essential oil to add.
For example, if you have 30ml of carrier oil and want to create a 2% dilution:
- 30ml * 0.02 = 0.6ml
- 0.6ml is approximately equal to 12 drops of essential oil.
Mixing Instructions
- Begin by pouring the desired amount of carrier oil into a clean, dry bottle or container. Ensure the container has a tight-fitting lid to prevent spills and maintain freshness.
- Add the calculated number of drops of essential oil to the carrier oil. Use a dropper or measuring tool to ensure accuracy.
- Secure the lid tightly on the container and shake well to thoroughly mix the oils. This ensures that the essential oils are evenly distributed throughout the carrier oil, creating a consistent blend.
- After shaking, give the blend a few moments to settle, then check the scent and potency. You can adjust the amount of essential oil if necessary, but remember to stay within the safe dilution guidelines.
Importance of Thorough Blending:
A consistent result requires a thorough blending of the essential oils and carrier oil. An even distribution of essential oil drops maximizes its effects and produces a consistent aroma when it is mixed properly.
Inadequate mixing could result in uneven essential oil concentrations, which could cause irritation and inconsistent results. Therefore, take your time shaking or completely stirring the mixture until it is well combined.
These instructions will help you make a customized massage oil blend that suits your needs and is safe and effective. You’re now prepared to enjoy your homemade massage oil’s calming effects!
Step 5: Testing and Adjusting
Before using your homemade massage oil extensively, it’s essential to perform a patch test to ensure compatibility with your skin. Here’s how to do it:
Patch Test
- Choose a small area of skin, such as the inner forearm or behind the ear.
- Apply a small amount of the diluted massage oil to the chosen area.
- Wait 24 hours and observe for any signs of irritation, such as redness, itching, or swelling.
- If no adverse reactions occur during this time, the massage oil is likely safe for use.
Adjusting the Blend
If you find that the scent or potency of your massage oil blend isn’t to your liking, you can easily adjust it to better suit your preferences. Here’s how:
- To increase the scent strength, add a few more drops of essential oil to the blend and shake well to mix.
- To decrease the potency, add more carrier oil to dilute the essential oils further.
- Repeat the testing process after adjusting the blend to ensure it’s safe and satisfactory.
Safety Precautions
- Always dilute essential oils properly before applying them to the skin to avoid irritation or sensitization.
- Keep essential oils away from the eyes and mucous membranes.
- If you have any known allergies or sensitivities, consult a healthcare professional before using essential oils.
- Discontinue use if you experience any adverse reactions and seek medical attention if necessary.
Your homemade massage oil should be safe and fun to use, so make sure to do a patch test and alter the blend as necessary. It’s time to learn about proper storage and shelf life after you’ve tried and tweaked your blend.
Step 6: Storage and Shelf Life
Proper storage is key to maintaining the freshness and effectiveness of your homemade massage oil. Here’s what you need to know:
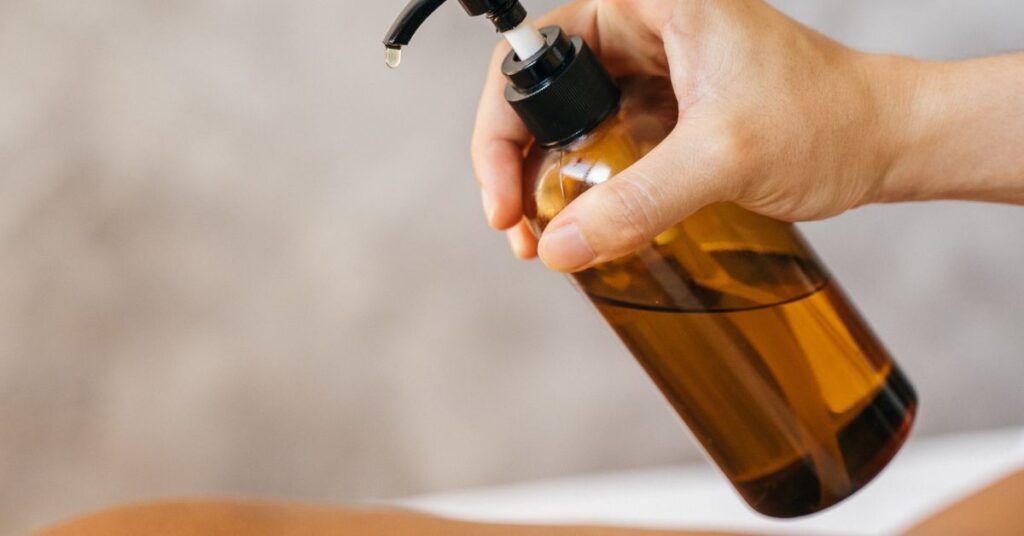
- Container: Store your massage oil in a clean, dry bottle or container with a tight-fitting lid. Dark glass bottles are best as they protect the oil from light, which can cause it to degrade.
- Location: Keep your massage oil in a cool, dark place away from direct sunlight and heat sources. Excessive heat and light can accelerate the degradation of the oil.
- Shelf Life: The shelf life of homemade massage oil depends on the type of carrier oil used. Most carrier oils have a shelf life of 6 months to 1 year when stored properly. However, oils high in antioxidants, such as jojoba or grapeseed oil, may last longer.
- Signs of Spoilage: Check your massage oil regularly for any signs of spoilage, such as a rancid smell or cloudy appearance. If you notice any changes, it’s best to discard the oil and make a fresh batch.
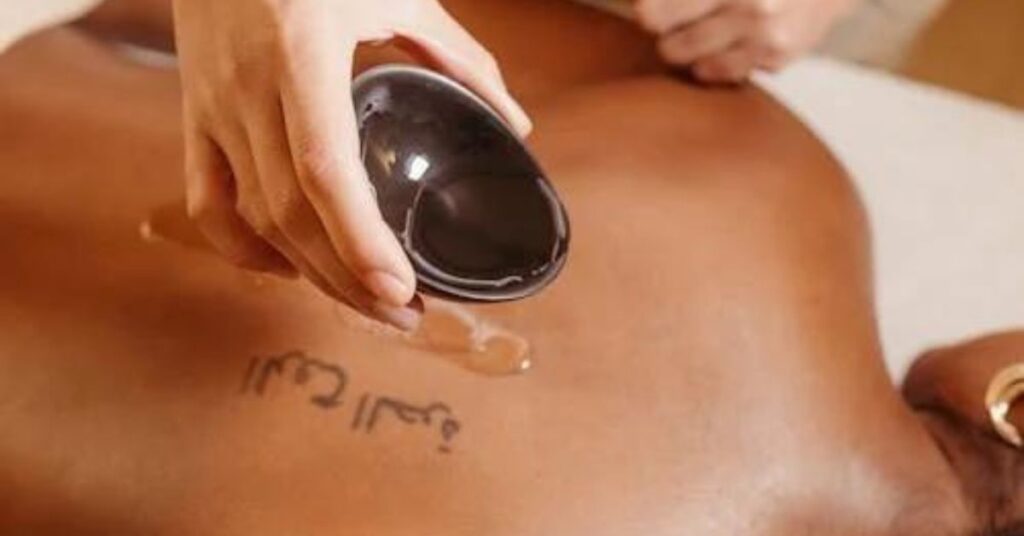
Step 7: Usage Tips
Now that you’ve created your homemade massage oil, here are some tips for using it effectively:
- Warm the Oil: Before use, warm the massage oil by rubbing it between your hands or placing the bottle in warm water. This helps the oil spread more easily and enhances the massage experience.
- Massage Techniques: Use gentle, circular motions to apply the massage oil to the skin. Start with lighter pressure and gradually increase as desired. Pay attention to areas of tension or soreness for maximum relaxation.
- Scent and Mood: The scent of the essential oils in your massage oil can help set the mood for relaxation. Choose scents that appeal to you and your massage recipient, such as calming lavender or invigorating peppermint.
- Customization: Feel free to customize your massage oil blend by experimenting with different carrier oils and essential oil combinations. Adjust the scent and potency to suit your preferences and needs.
- Self-Massage: Don’t forget that you can use the massage oil for self-massage as well. Take some time to pamper yourself and enjoy the soothing benefits of your homemade blend.
- Post-Massage Care: After your massage, gently wipe away any excess oil with a warm, damp towel. This helps to remove any residue while leaving your skin feeling soft and moisturized.
- Storage After Use: Once you’re done using the massage oil, store it in a cool, dark place as mentioned earlier to preserve its freshness for future use.
Conclusion
Congratulations on creating your homemade massage oil! By following this simple guide, you’ve learned how to customize your blend to suit your preferences and needs, all while enjoying the benefits of natural ingredients.
You may treat yourself to individualized and reasonably priced self-care and relaxation when you make your massage oil at home. Your handmade massage oil will improve the experience whether you’re trying to relax after a hard day, ease tight muscles, or just treat yourself.
It is important to keep in mind that you should keep your massage oil in a cool, dark place and conduct frequent patch tests to make sure your skin is compatible. Your homemade massage oil can offer months of renewal and relaxation if it is properly cared for.
We hope you’ve enjoyed this journey into the world of DIY wellness. Feel free to experiment with different carrier oils and essential oil combinations to create your perfect blend. Thank you for joining us, and here’s to many blissful moments with your homemade massage oil!